
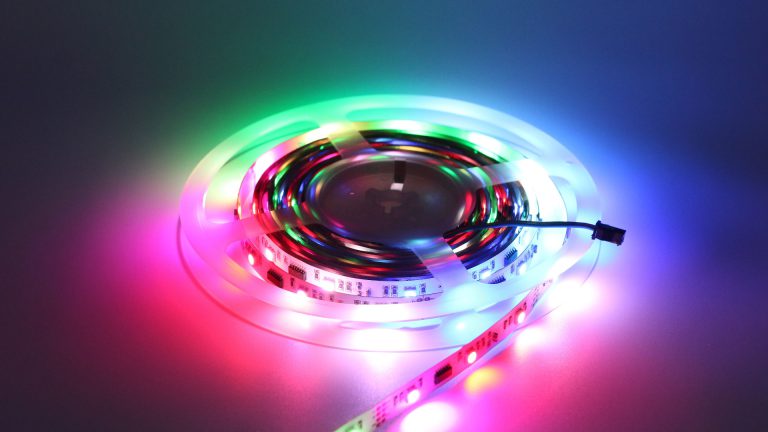


Step 1: Choose the Right LED Strip for Your Project
Before starting, identify your needs:
- Voltage: 12V for shorter runs, 24V for longer runs with less voltage drop
- Color Options: Single color, RGB, RGBW, or addressable
- Waterproof Rating: Indoor use (IP20) or outdoor/wet areas (IP65+)
Step 2: Measure and Cut to Size
- Measure the installation area accurately.
- Cut only at the marked cut points to avoid damaging the circuit.
- Use sharp scissors for clean cuts.
Step 3: Prepare the Power Supply
- Match power supply voltage to strip voltage (never mix!).
- Calculate total wattage: strip wattage (W/m) × total meters. Add 10–20% as a safety margin.
- Use quality power adapters or drivers for durability.
Step 4: Wiring and Controllers
- For static colors: connect directly to DC power.
- For RGB or addressable strips: connect to a suitable controller.
- Check polarity before powering on — reversing can damage LEDs.
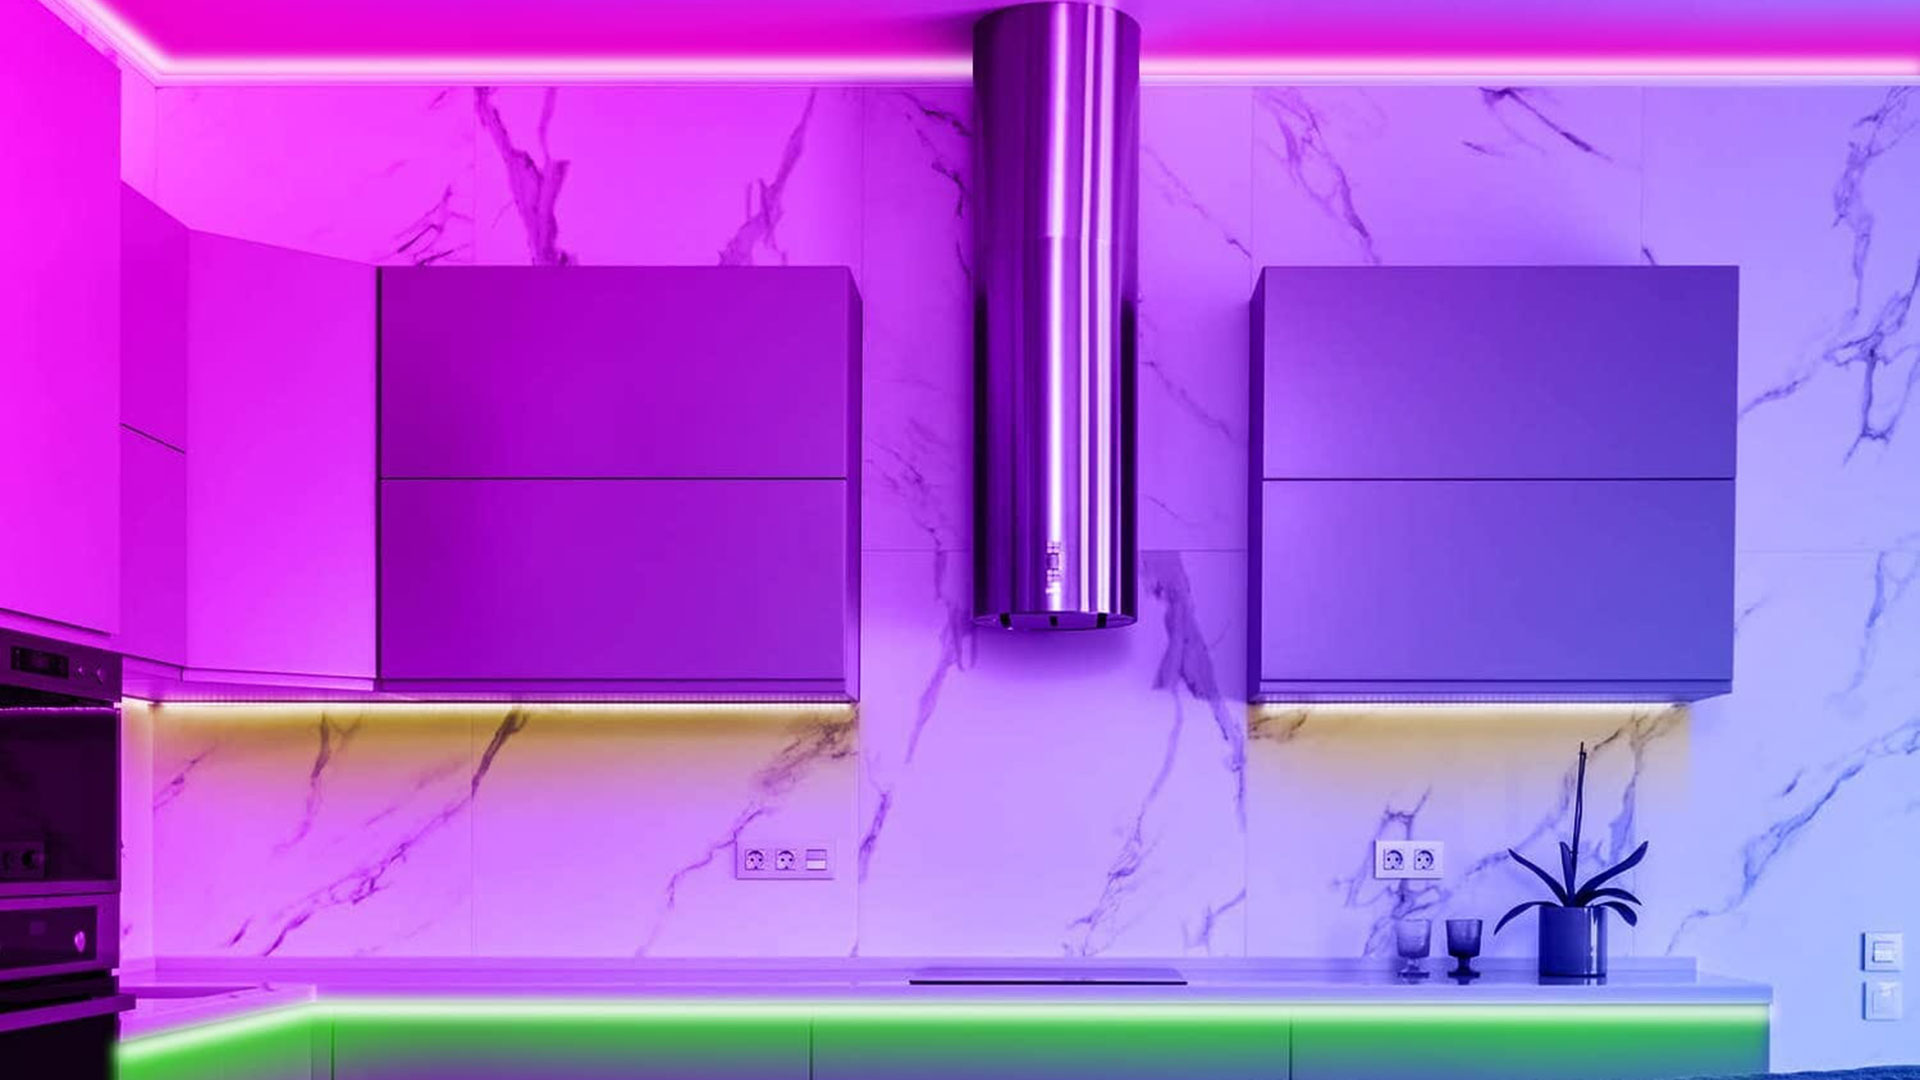
Step 5: Mounting the Strip
- Peel off the adhesive backing and press firmly onto a clean, dry surface.
- For better heat dissipation and stability, consider mounting inside aluminum channels with diffusers.
Step 6: Testing and Troubleshooting
- Test the strip before final mounting.
- Look for faulty sections, voltage drop, or dimming.
- Use amplifiers for long runs to maintain brightness.
Pro Tips from PRADA Lighting Experts:
- Avoid bending the strip sharply — this can damage the circuit.
- Seal all connections with heat-shrink tubing for outdoor use.
- Choose premium strips with higher CRI for true-to-life colors.
Conclusion:
Installing LED strip lights the right way ensures maximum lifespan, brightness, and safety. At PRADA Lighting, we supply everything from premium LED strips to professional-grade installation accessories.
